
Leather repair & re-dye
Leather repair,
restoration & re-dye.
Cleaning, conditioning, repair and color correction for cabin leather — matched to the existing scheme, so the work disappears into the cabin instead of announcing itself.
01Overview
Wear arrives
in the same places.
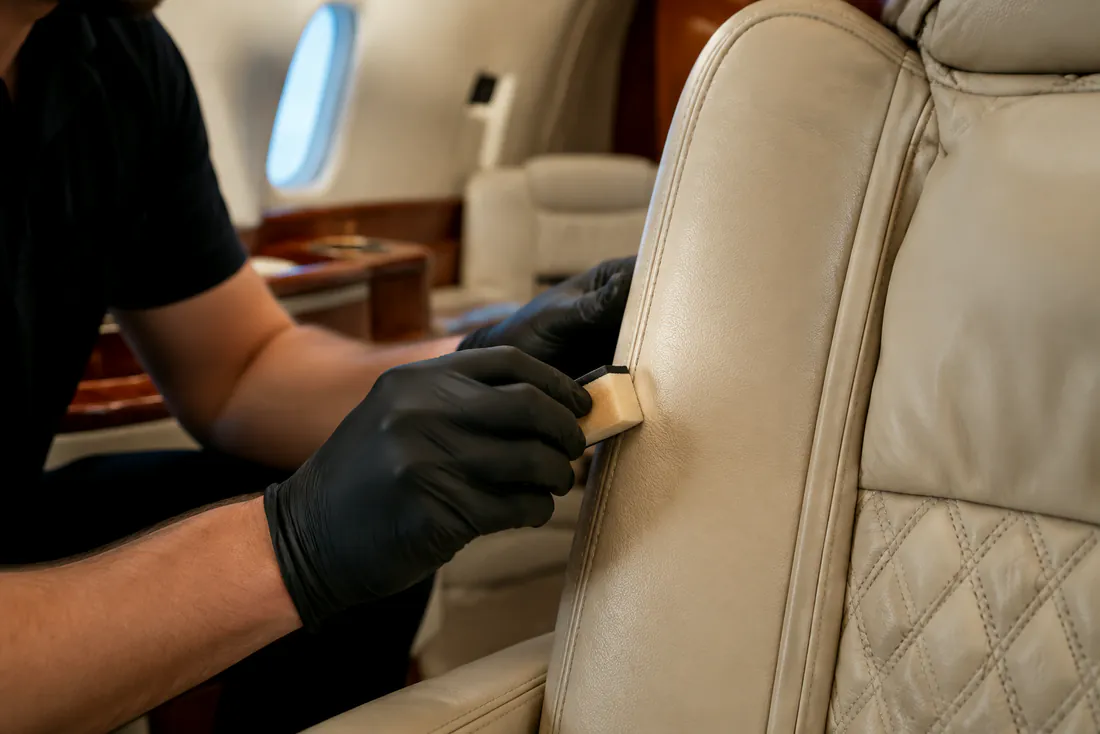
Bolsters, armrest edges, headrest tops, the outboard side of the seat nearest the aisle. Cabin leather does not wear evenly, and treating it evenly is why so much leather work looks wrong afterwards.
Aircraft seating leather is finished differently from furniture and from automotive hide, and it lives in a cabin with controlled humidity, hard light through the windows and constant contact in a handful of specific places. Generic leather products flatten the finish, change the sheen and often make the next repair harder.
Our work starts with cleaning and conditioning to see what is actually there. A great deal of leather that looks finished is simply soiled and dry. What remains after that — cracking, seam wear, scuffing, dye loss — is then addressed as repair work rather than as cleaning.
Where color has to be restored, matching is the whole job. We match to the existing cabin scheme, blend into surrounding panels, and finish to the same sheen so a repaired seat does not read as the repaired seat.
02Method
How the work is run.
- 01
Clean and condition first
Nothing is judged until the leather is clean and conditioned. A surprising proportion of 'failed' cabin leather recovers at this stage alone.
- 02
Assess what remains
Cracking, seam wear, scuffing and dye loss are mapped seat by seat, and photographed with your agreement so the scope is unambiguous.
- 03
Repair the substrate
Surface splits, worn seams and damaged areas are stabilised and rebuilt before any color work begins.
- 04
Match the color
Matching is done against the aircraft's own leather in the cabin's own light — never from a swatch book under hangar lighting.
- 05
Apply and blend
Color is built up in controlled passes and blended into surrounding panels so there is no visible boundary.
- 06
Finish and cure
The correct sheen is applied to match the undisturbed leather, then the work is left to cure properly before the cabin returns to service.
High-wear zones
Armrest edges, bolsters, headrest crowns and the aisle-side of every seat carry almost all the wear in a cabin. Restoring those specific areas well is worth more than treating the whole cabin uniformly.
- Bolsters, armrests and headrest crowns addressed individually
- Seam wear stabilised before it opens
- Aisle-side panels treated for their actual exposure
- Divan and side-facing seating included in scope
Matching the cabin, not a swatch
A cabin scheme ages as one. Colour matched under hangar light against a sample card will look right in the hangar and wrong at altitude with the shades up.
- Matched on the aircraft, in the cabin's own light
- Blended into adjacent, undisturbed panels
- Sheen matched, not just hue
- Full-cabin re-dye available where the scheme has drifted
Where we stop
Restoration, not re-upholstery.
We restore the leather that is on the aircraft. When a panel has failed structurally, replacement is an upholstery job with its own certification path.
- No re-upholstery, foam replacement or panel fabrication
- No seat frame, track or mechanism work
- Failed panels are identified and referred to an upholstery shop
- Any work affecting a certified interior component is referred to your provider
05Questions
Before you book.
Surface cracking and light splits usually can be stabilised and refinished so they no longer read. Deep cracking that has gone through the hide is a replacement conversation, and we will tell you which one you have before quoting.
That is the standard we work to, which is why matching is done on the aircraft in the cabin's own light and blended into adjacent panels. Where a cabin has drifted significantly, a full-cabin re-dye gives a better result than matching to a faded neighbour.
Colour work needs proper cure time and rushing it is how the finish fails early. We plan the cure into the service window and confirm the realistic return-to-service point when we agree the scope.
Fabric seating, divans and soft trim are covered under interior detailing. Suede and specialty finishes are assessed individually, because the right treatment varies a great deal between materials.
Related capabilities.
01
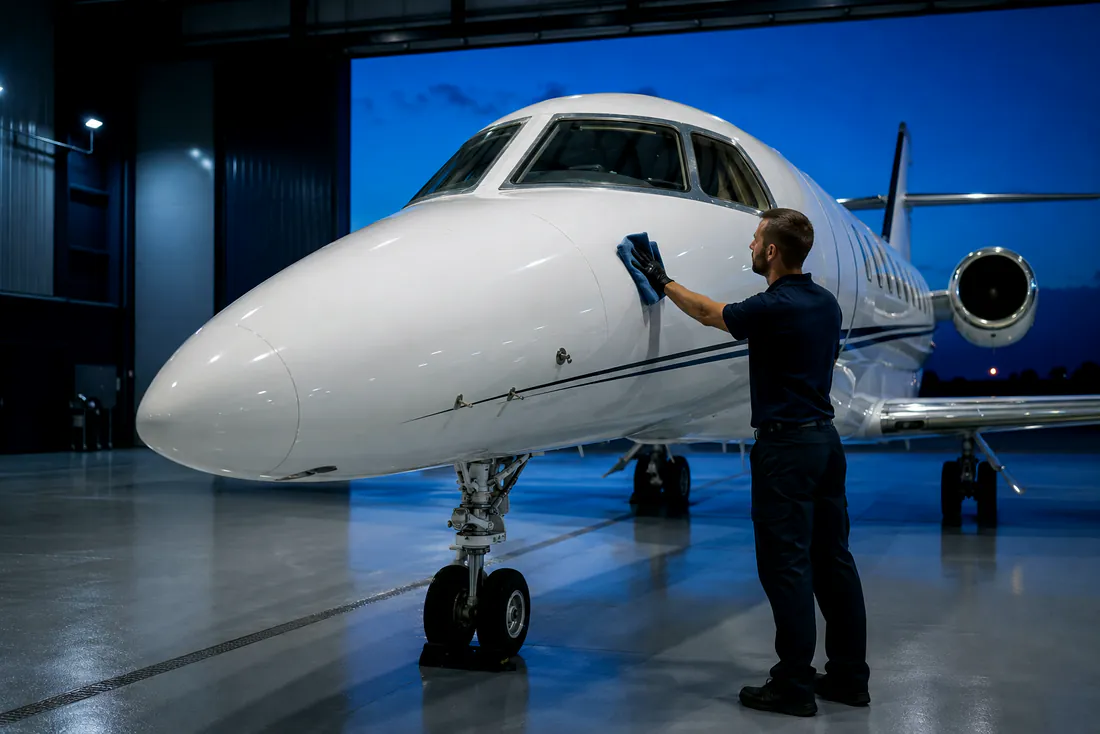
Exterior detailing
Controlled, low-moisture exterior cleaning that respects seals, static ports, composites and placards.
02
Interior detailing
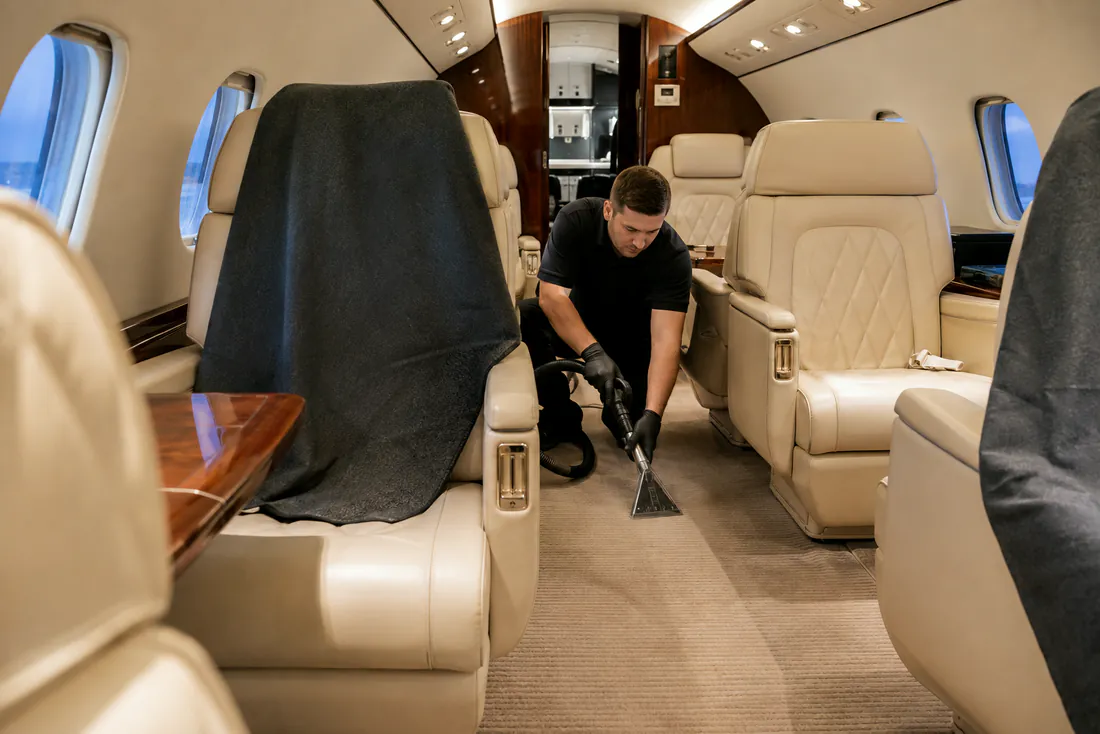
A full cabin reset — seating, carpet, galley, lavatory and every high-touch surface in between.
03
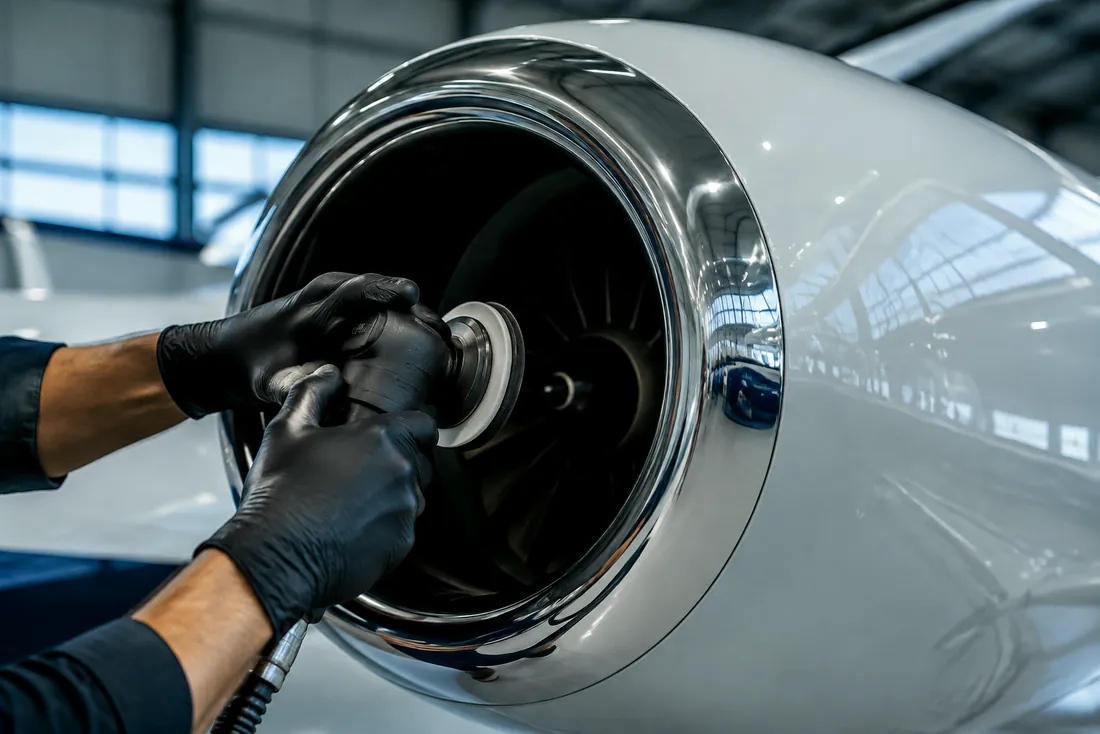
Brightwork & metal polishing
Staged oxidation correction on leading edges, inlet lips and nacelle rings.
Next step
Ready to scope this aircraft?
Send the tail type, the field and the ground time you hold. We will come back with what is realistic and what it involves.